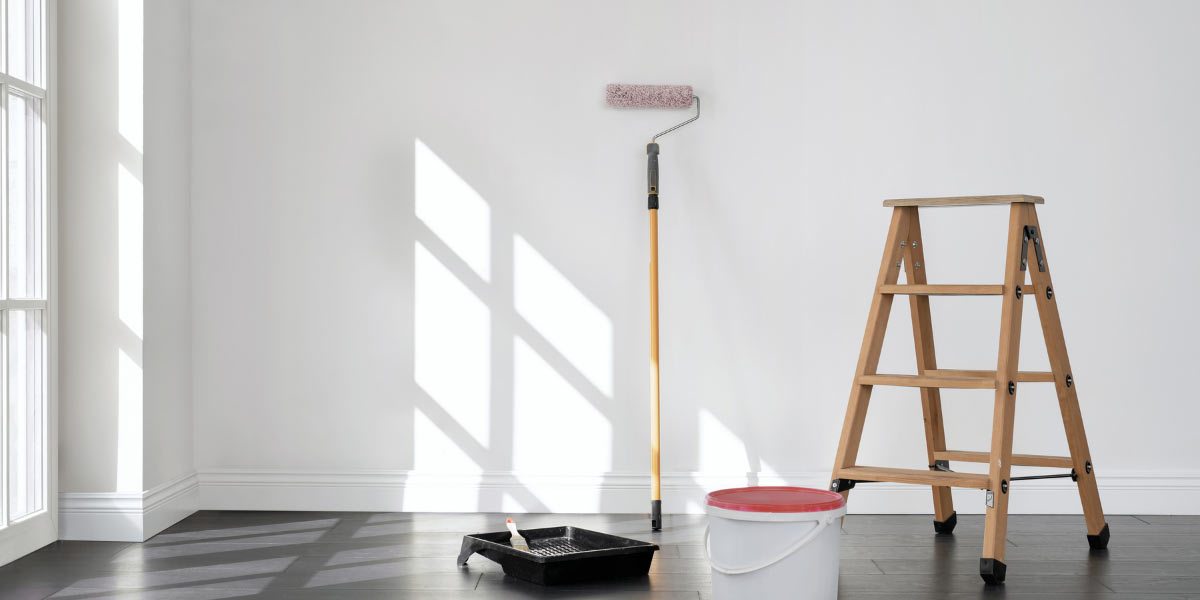
A fresh coat of paint can transform a space. But the preparation you do before you start painting, can mean the difference between eye-catching and eye-sore. So, follow these steps to properly prepare your wall, before dipping your toe (or brush) into the wall-painting world.
Note: This how-to is for plaster walls only.
Scrub
Unless your wall is brand new, it’s a good idea to start by giving it a good clean. Sugar soap is a great option for cleaning walls, because it effortlessly busts through dirt, oily films, and dust. Follow the instructions on the bottle, clean your wall, then remove excess water/soap with a cloth or towel. Allow the wall to fully dry before continuing to the next step.
Fill
Now that your wall is clean and dust-free, it’s time to handle any imperfections in the surface. Grab some gap filler from your local hardware store, and following the instructions on the tube/container, fill any small holes, chips, cracks, and divots. Be ruthless with this step. Even the smallest of imperfections will be noticeable, especially if you’re opting for matte-finish paint. (Click here for our guide to interior paint finishes).
Depending on the gap filler of choice, you may need to wait 2-24 hours for it to dry before moving on to the next step, so plan ahead.
Sand
Your gap filler is dry—it’s time to sand. Depending on the amount of sanding required, you could use an orbital sander, or sand by hand (hey, that rhymes!). Remember, always wear a dust mask, and eye protection where necessary when sanding.
Start with a coarser grit, and work your way up to a finer grit—some professionals recommend around 120 grit, or so. Once you’ve achieved a smooth surface, dust off your wall, and you’re ready for the next step!
Prime
I’m sure by this point you’re raring to go. You’ve put in the hard yards, and you want the reward of a freshly-painted wall to show for it. But there’s one more step to consider—priming.
Why Prime?
There’s an old myth that primer is just watered-down paint. Although primer looks like paint, it serves a bigger purpose than adding colour to your bedroom wall. Primer seals your wall, and creates a layer that paint will adhere to more easily. Primer also conceals stains that might show through your fresh coat of paint, and makes the transition from darker, bold colours, to lighter and brighter colours, easier. Note: if your wall is new, or has been recently painted, you might not need a primer.
Instructions may differ per primer, but generally you should apply the primer to the entire wall using a paint roller. Some primers may also require more than one coat. Once the primer is dry, lightly sand away any bumps, and dust again before painting. And that’s it! Now that your wall is properly prepared, it’s time to paint!
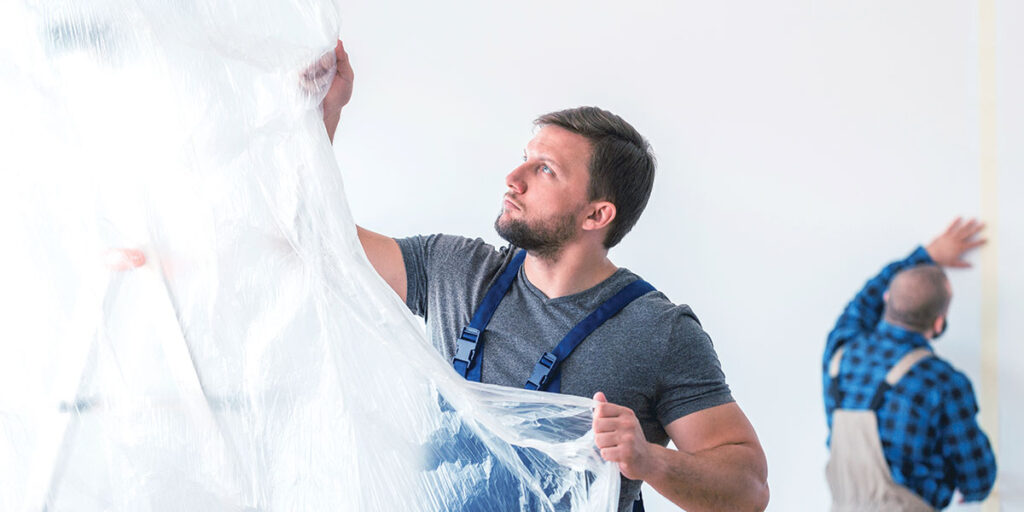
Do you want freshly-painted walls without the fuss? Keep it simple and hire a Local Expertpainterfor your next project.
Are you eager to get your renovation started?
Our trusted Local Expert professional builders are standing by.
Click here to learn more or request a quote today!